
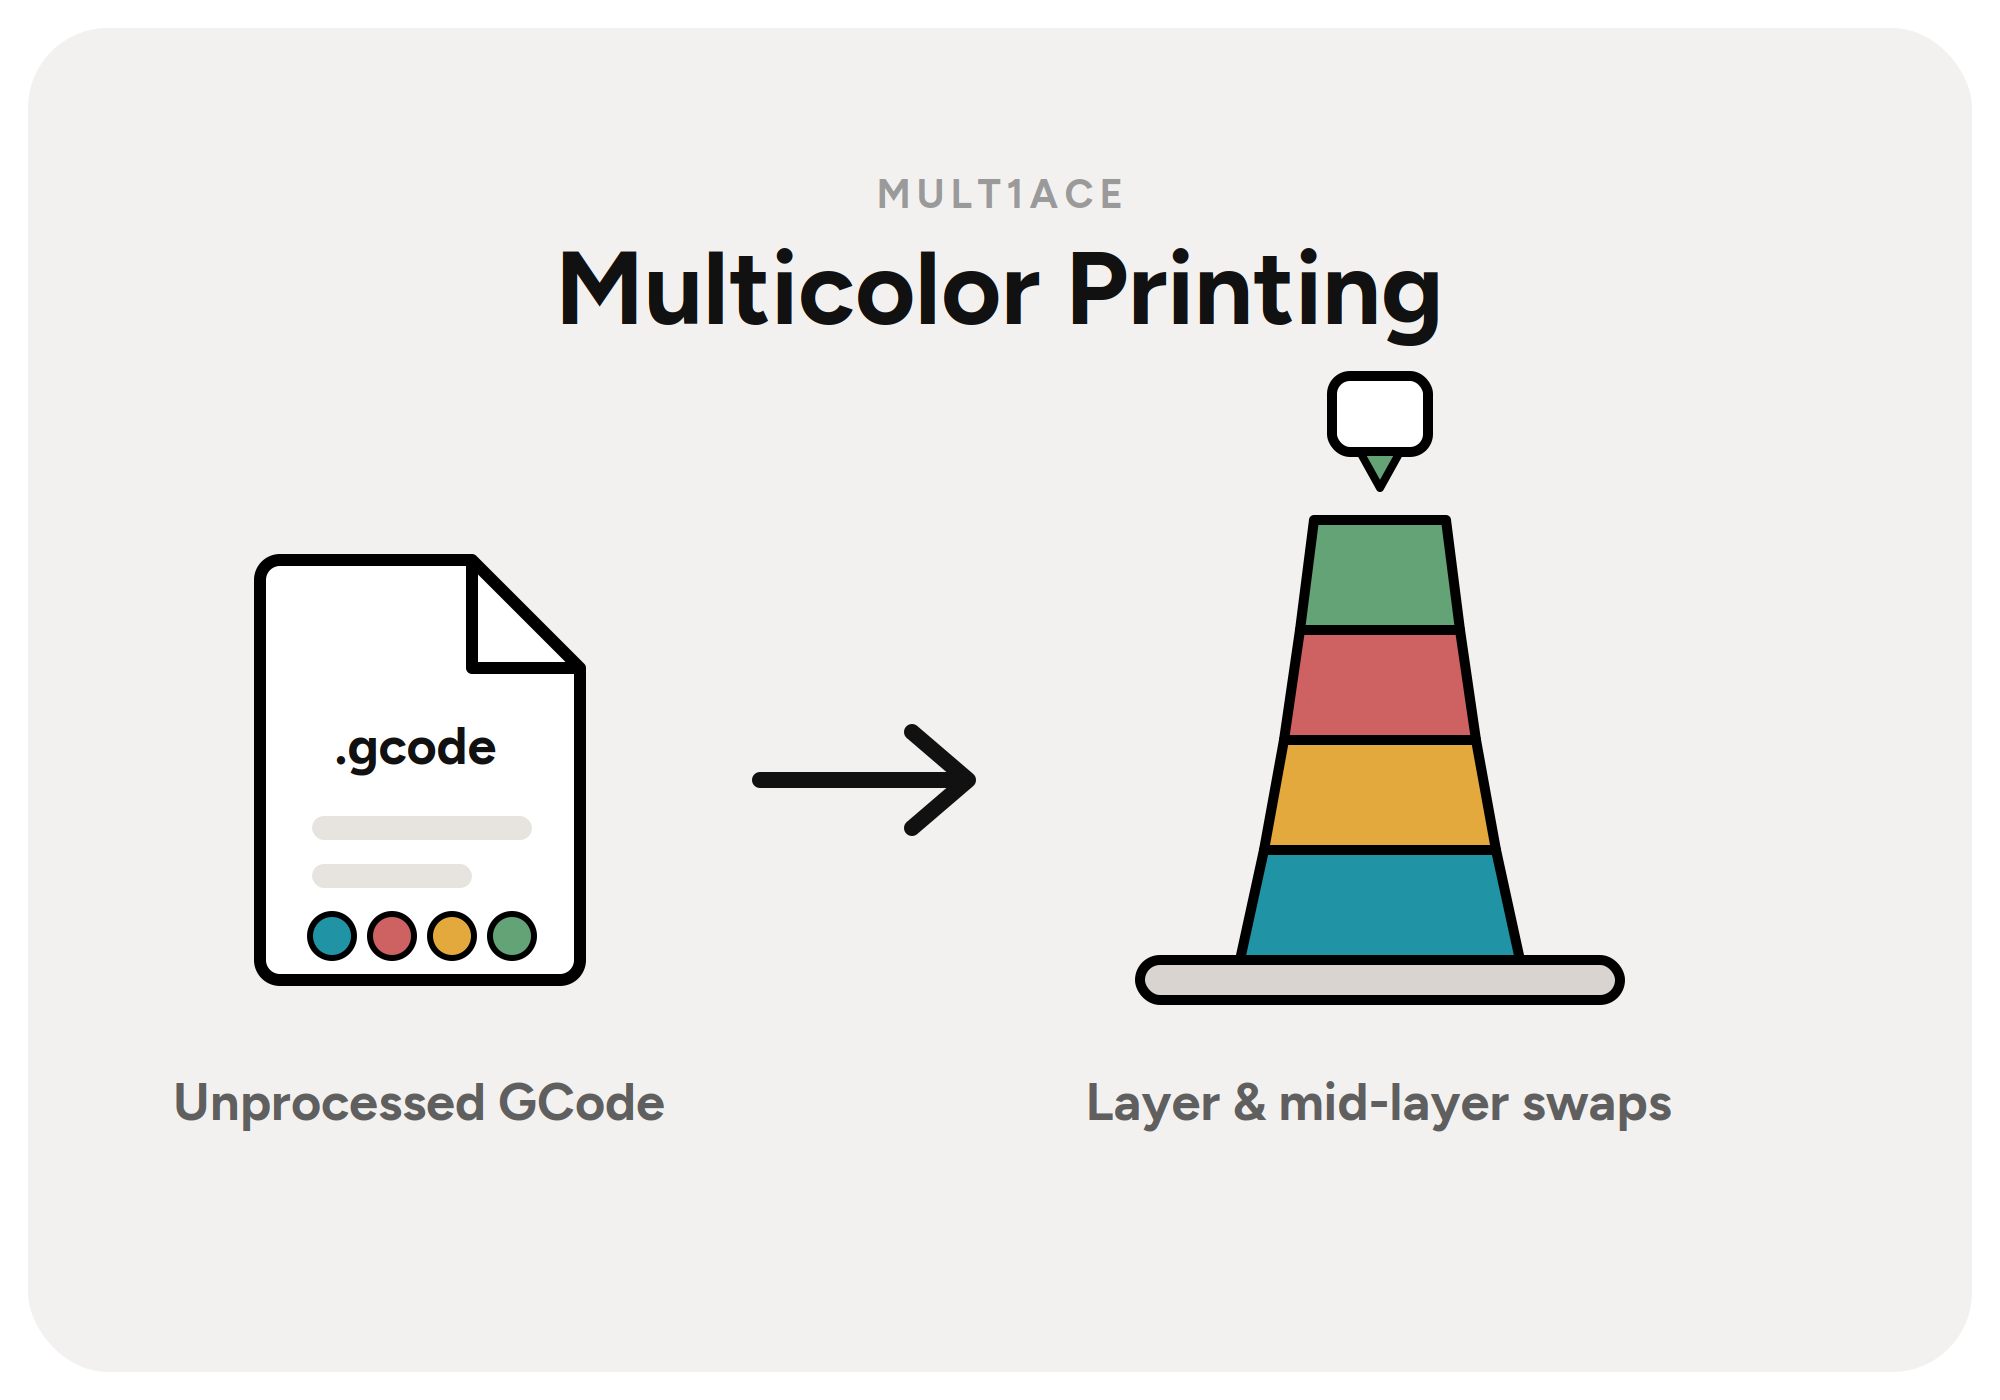
To print with automatically changing colors, proceed as follows.
-
1Slice and export the GCode
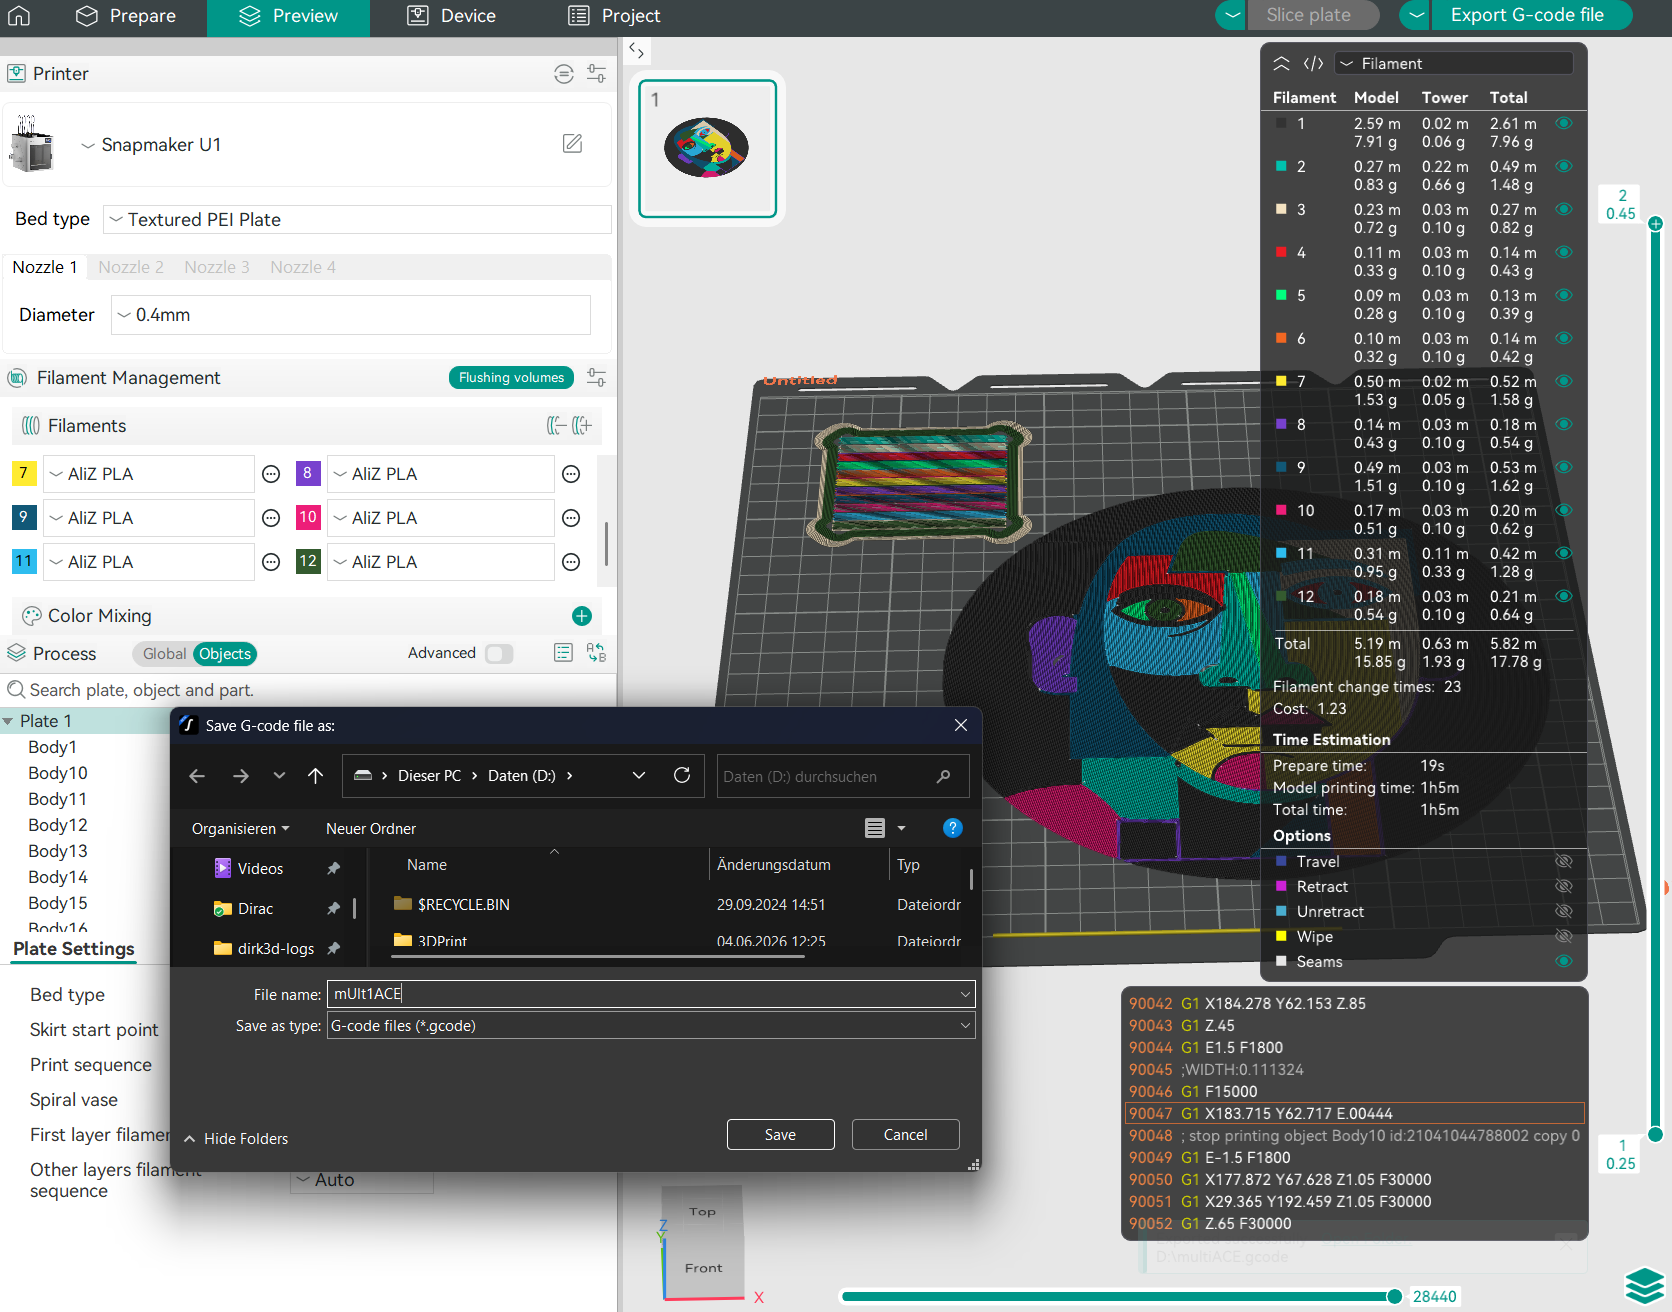
Slice your model in Snapmaker Orca and, instead of printing, export the GCode.
-
2Import it in the Web UI
In the Web UI, import the file with the G-code button in the top right corner.

-
3Web-Preflight opens
The Web-Preflight opens. It shows all loaded materials as well as the materials used in the GCode.
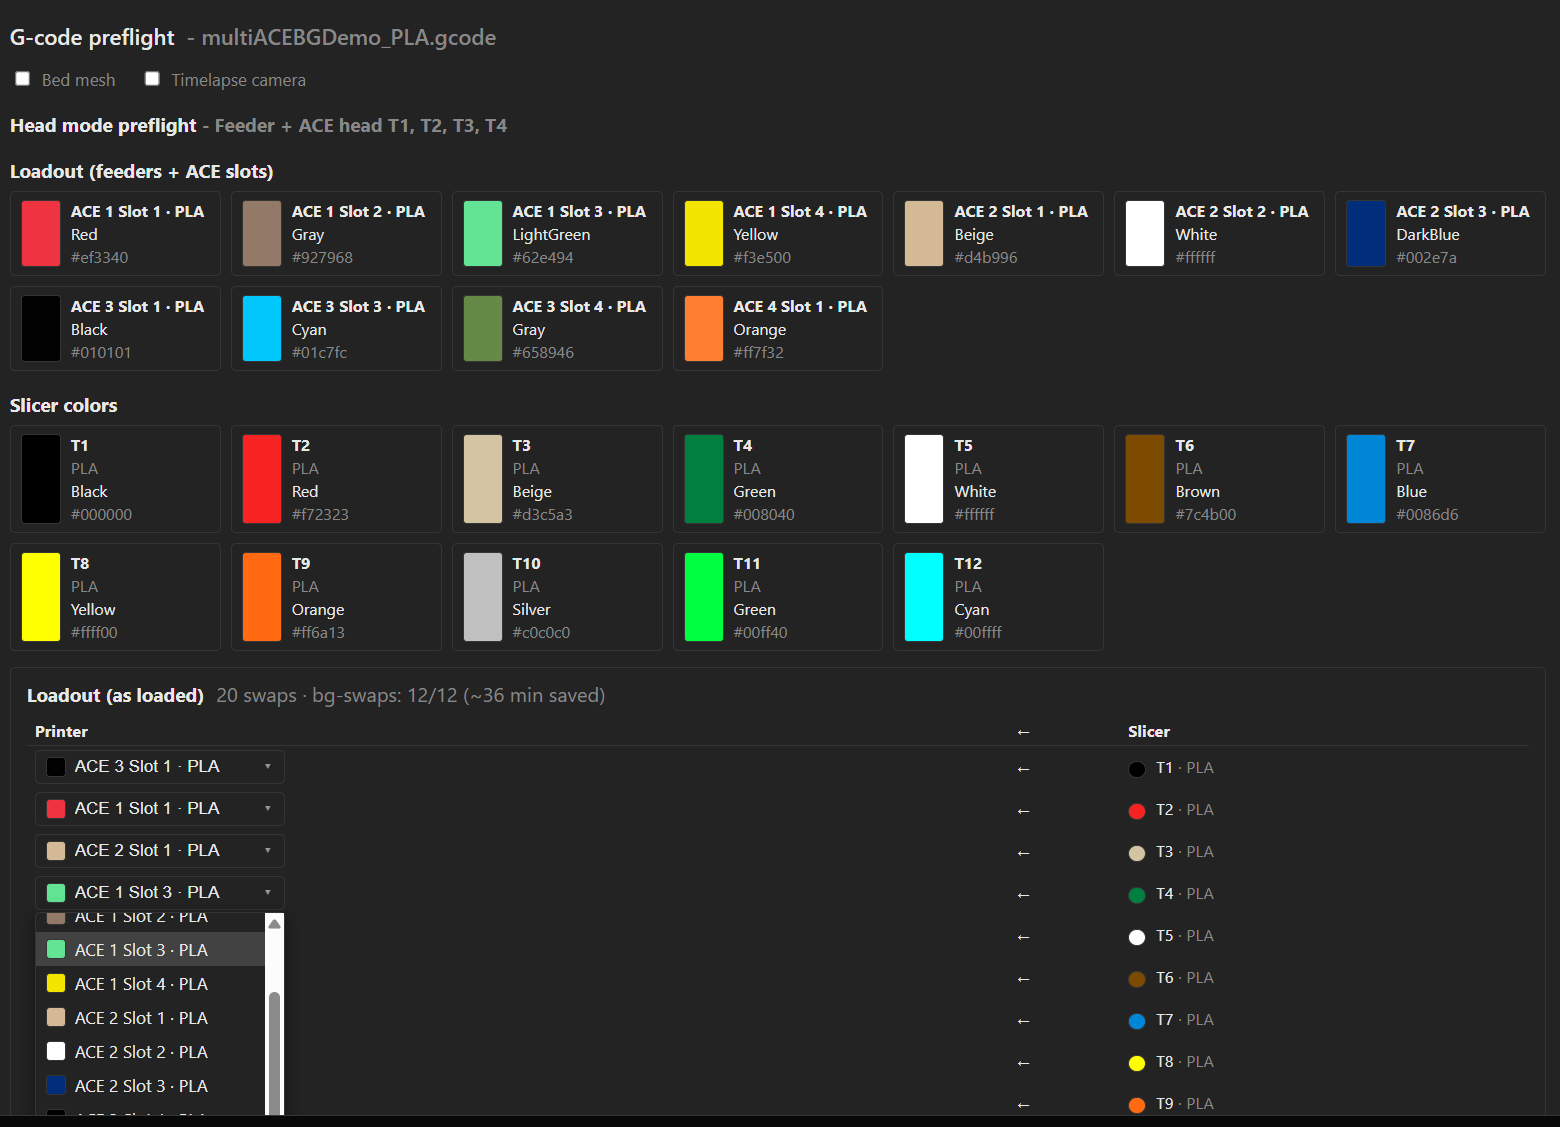
Preflight options
Bed mesh and Timelapse enable the respective options for the print. Please set PA manually. With 16 colors, the calibration routine would simply take too much time. 🙂
The Loadout section shows the print duration and the number of swaps (without toolchanges) based on the current loadout. In the Printer section you can assign the materials freely, just like in the slicer.
Afterwards you can recalculate the swaps. Print starts the print.
Optimize Layout & Loadout
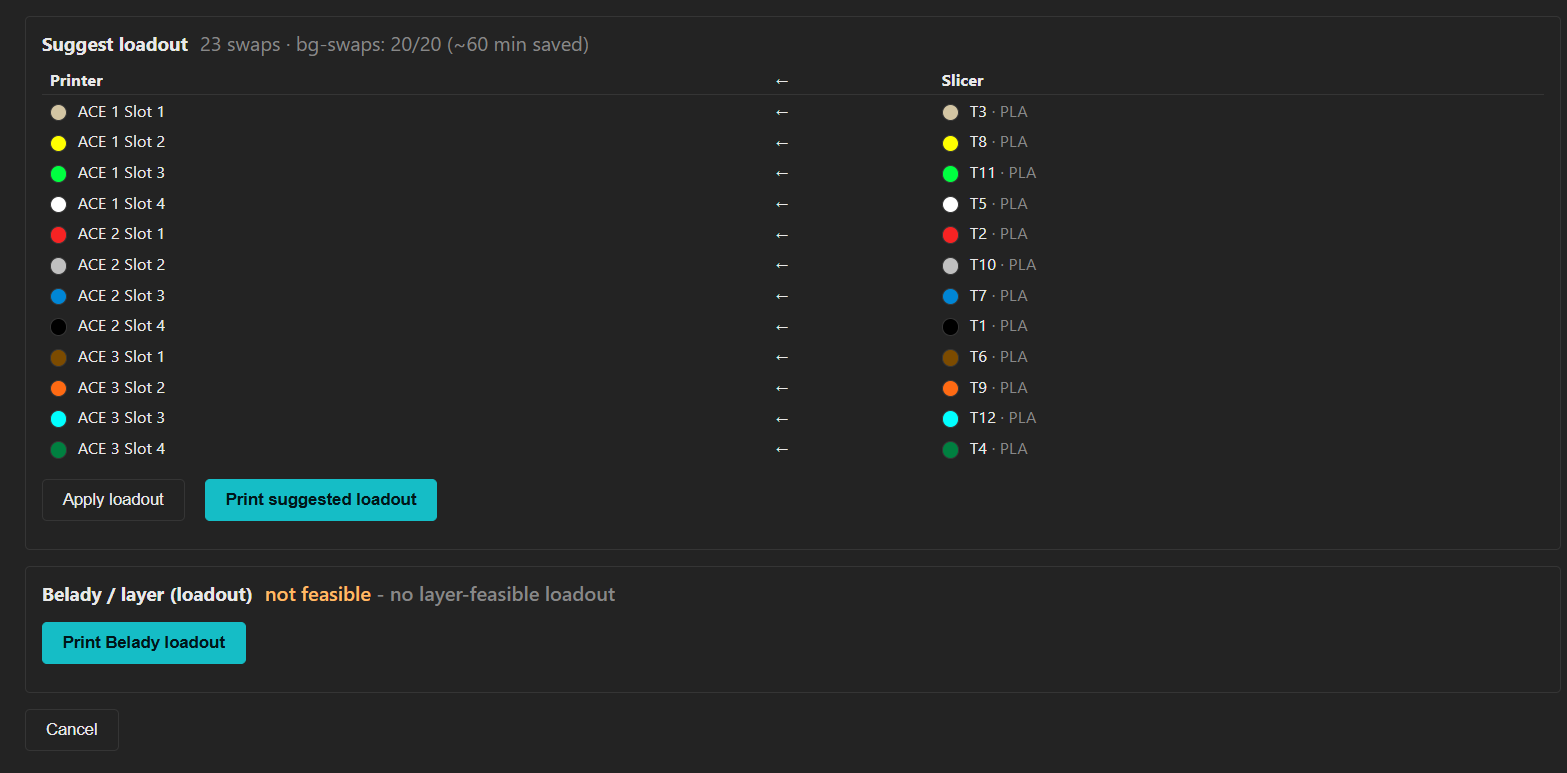
Here a loadout for the ACE units is suggested that keeps print duration and swaps as low as possible. Re-sort the spools accordingly. If no RFID is used, the colors can be assigned automatically with Apply.
Print prints accordingly.